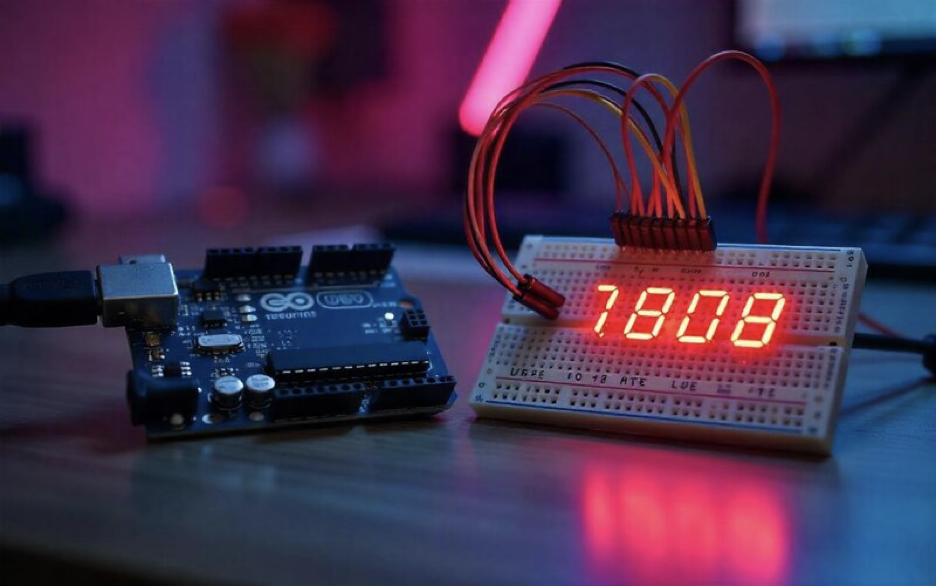
Introduction: The Arduino LCD wiring technique is essential for Arduino projects. A proper LCD screen’s Arduino wiring enhances the visual interface and helps the project run easily.
This article aims to teach you how to use an error-free Arduino LCD connection. Let’s begin.
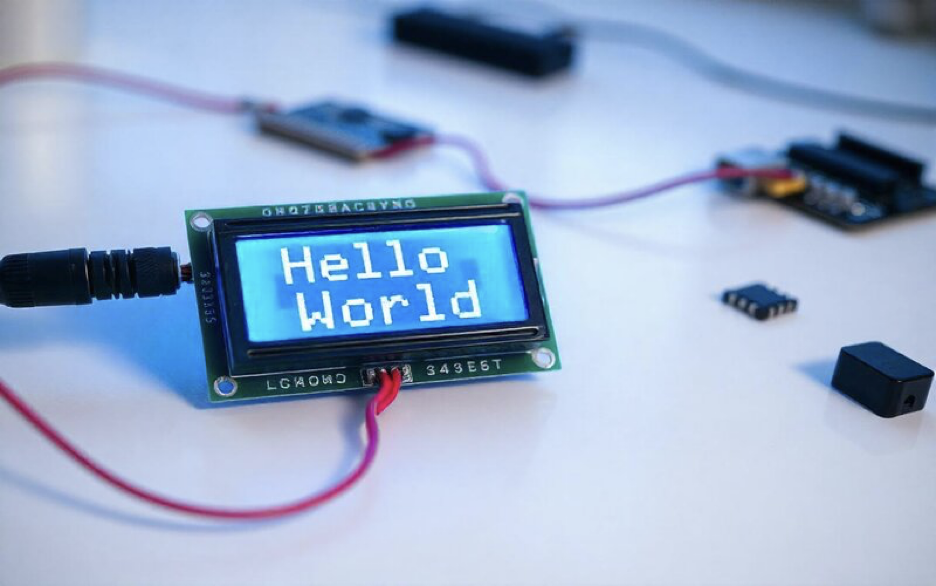
Article Directory:
- Introduction
- What is Arduino?
- Which LCD Types Are Suitable For Arduino Connection?
- What is an LCD Character Display?
- Details of Arduino LCD Connection
- Programming For the Arduino LCD Connection
- How to Use the LiquidCrystals Library?
- Common Challenges and Troubleshooting of LCD screen Arduino wiring
- FAQs
- The bottom line on the Arduino LCD Connection
What is Arduino?
Basic knowledge of Arduino is essential to understanding the Arduino LCD connection and LCD screen wiring. Let’s briefly review the fundamentals of Arduino before discussing them in detail.
Arduino is a versatile open-source platform for developing electronic projects. It allows interaction with hardware through software. The basis of Arduino is a simple input/output board with wiring language in a development environment.
Screens, sensors, actuators, lights, and other electronic devices are suitable hardware devices for the Arduino. These devices are connected to the Arduino by wireless communication or cables.
Arduino is an affordable and easy-to-use tool for developing prototypes for security systems, monitoring, and production processes. You can work with Arduino without experience in programming and electronics.
There are different versions of the Arduino. The newest versions are typically smaller and have advanced features.
Which LCD Types Are Suitable For Arduino Connection?
Two rows of 16-character Liquid Crystal Displays (16×2 LCD) and four rows of 20-character Liquid Crystal Displays (20×4 LCD) are the popular LCD modules for the Arduino projects.
What is an LCD Character Display?
It is a screen type that can produce fixed-size ASCII characters and allows for personalized output. You can generate the text using these characters. Upon closer inspection, we can see a 5×8 pixel grid on the display. Each pixel emits light independently, enabling the creation of characters in every grid.
LCD size depends on the total number of rectangles. Different LCD’s are 16×1, 16×2, 16× 4, and 20×4. These LCDs have different text and background colors. The most common type is the 16×2 LCD. Another popular LCD Arduino model is 16×4.
The 16×2 display has 4-bit and 8-bit parallel communication capacity with versatile options for different Arduino projects.
Details of Arduino LCD Connection
Arduino LCD Connection Basics: Now let’s see the basis of LCD screen Arduino wiring. Some specific components are necessary to design an Arduino LCD.
Necessary Components:
- Arduino board (e.g., Arduino Uno, Nano, or Mega) is a microcontroller-based board that controls the LCD.
- A LCD module(16×2 or 16× 4). LCD shows the visual output. A potentiometer (10k ohms) for contrast adjustment.
- Breadboard and jumper wires. Jumper wires link various components.
- Resistor(optional): The resistor is used to control the backlight intensity of the LCD.
Pin Configurations:
Most of the LCDs have the following pins:
|
Pin Number |
Pin Acronym & Function |
Arduino LCD Connection |
| 1 |
VSS(Ground) |
Ground |
| 2 |
VDD(Power) |
5V |
| 3 |
V0(Contrast) |
Potentiometer |
| 4 |
RS(Register) |
Digital Pin 12 |
| 5 |
RW(Read/Write) |
Ground |
| 6 |
E(Enable) |
Digital Pin 11 |
|
7-14 |
Data Pins(D0-D7) |
Digital Pin (7-2) |
Step-By-Step Guide to Arduino LCD Connection:
- Connect the VSS Ground point to the Arduino Ground(GND) first.
- Connect the PowerPoint (VDD) to the Arduino voltage source (5V).
- Accurately measure the voltage in the third step using a potentiometer. Then adjust the LCD contrast by connecting one end to 5V, another to GND, and the middle pin to V0.
- Connect the Register(RS) to the digital pin 12.
- Ground the Read/Write pin.
- Connect Enable (E) to digital pin 11.
- Attach data pins D4 to D7 to digital pins 5, 4, 3, and 2 on Arduino.
- Install the LCD library in Arduino IDE for software configuration.
Programming For the Arduino LCD Connection
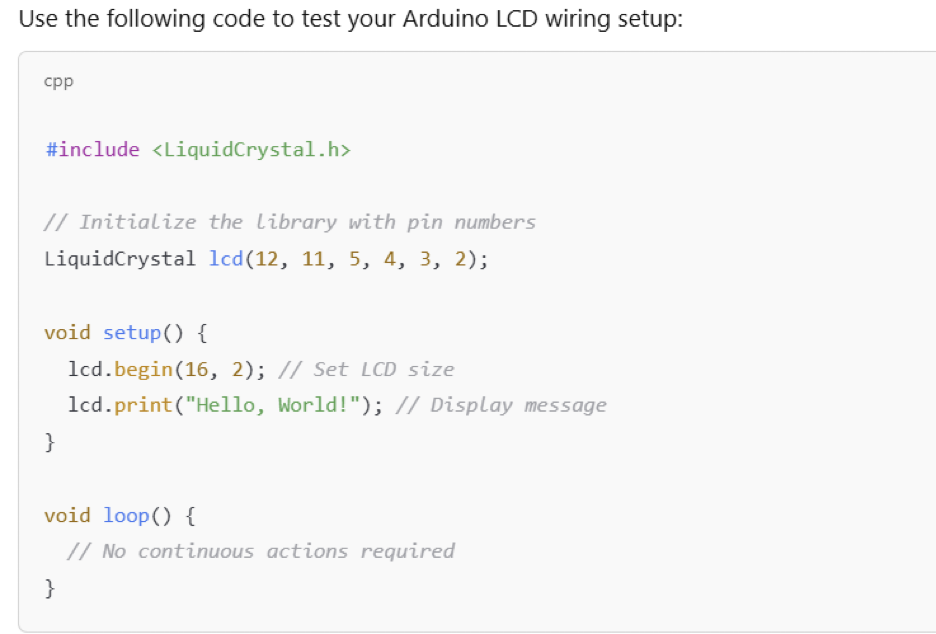
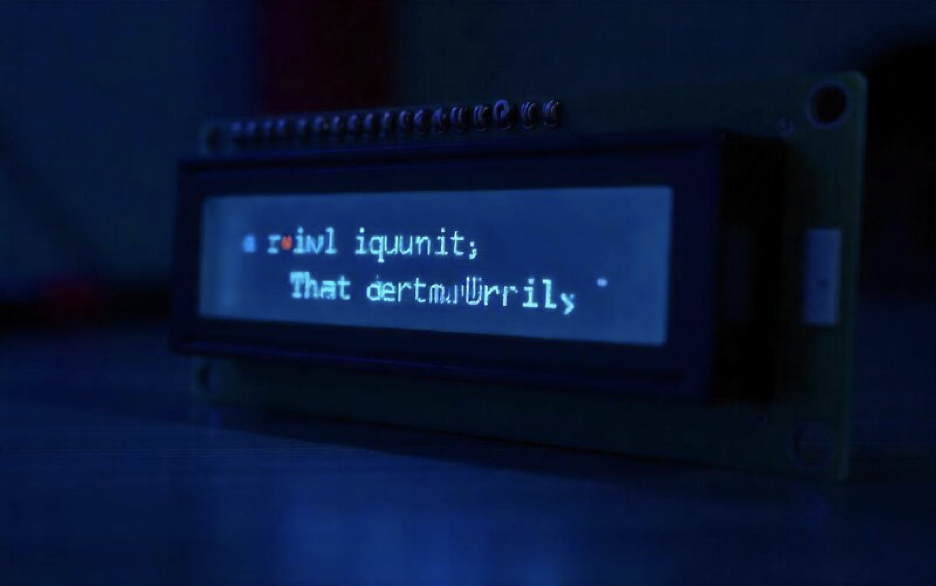
For Example, you can use the following code for your Arduino LCD connection.
#include
// Initialize the library with PINs
LiquidCrystal lcd(12, 11, 5, 4, 3, 2);
void setup() {
lcd.begin(16, 2); // Set LCD size
lcd.print(“Hello, World!”); // Display message
}ss
void loop() {
// No continuous actions required
}
How to Use the LiquidCrystals Library?
The LiquidCrystal library is a powerful tool for controlling LCDs using Arduino. Here is how the LiquidCrystal library affects LCD screen Arduino wiring and activation.
Arduino LiquidCrystal library functions are:
- Initializing the LCD
- Setting the cursor position
- Printing text
- Clearing the display
- Controlling the backlight
You can easily send commands and data by adding the LiquidCrystal library to your Arduino code.
Common Challenges and Troubleshooting of LCD screen Arduino wiring
- Incorrect Wiring: You may struggle to connect the wires accurately. Please verify all the connections to ensure the wiring is correct. Ensure all of the pins are connected according to the pin configuration.
- Power Supply Issues: The power supply is the most critical component for achieving results in your Arduino project. Be sure that your LCD is receiving adequate power. An unstable power supply creates problems like erratic behavior and displays garbage characters.
- Library Problems: Install the compatible and correct library for your Arduino board.
- LCD Configuration: Some LCDs require specific settings before starting LCD screen Arduino wiring. For example, setting up the number of lines and columns.
- Garbage Character on LCD: There is a communication error between the Arduino board and the LCD. The garbage characters arise due to incorrect wiring, power supply instability, or software configuration errors.
FAQs
Which LCD is best for Arduino?
The ideal LCD or display modules for an Arduino project will vary based on your requirements. Options include a 16×2 character LCD, an I2C LCD, an OLED display, or a TFT display.
Which is better: Arduino or microcontroller?
This improvement depends on your application and experience. Both Arduino and microcontrollers have their pros and cons.
Pros of Arduino: Arduino has some amazing advantages. The following are the key advantages of Arduino.
- Arduino is user-friendly and easy to use for a novice designer.
- It has a pre-installed bootloader, so no external programming is required.
- Broad library support for different sensors and modules.
- Huge online resources for troubleshooting and large supporting groups.
- Easy integration with hardware and shields.
Cons. of Arduino:
- Less customizability than the microcontrollers.
- More expensive than the single microcontroller.
Traditional Microcontroller Chip:
Microcontroller chips also have some advantages and a few disadvantages. Here are the details.
Pros of Microcontroller:
- Microcontroller is highly customizable and suitable for advanced users.
- Reasonable for large-scale single-purpose projects.
- Excellent control over system resources and programming.
- Microcontrollers are perfect for smaller-sized embedded systems.
Cons of Microcontroller: Microcontrollers also have some disadvantages.
- The microcontroller needs external programming and some external components like oscillators and power circuits.
- Spike-like learning curve compared to the Arduino.
- Microcontroller has limited library resources and needs manual implementation.
Which Arduino is mostly used?
The most used Arduino is UNO. This versatile board is good for simple uses like small-scale automation data recording simple robotics and home automation.
The bottom line on the Arduino LCD Connection
You may find the Arduino LCD Connection challenging first. If you follow the correct guidelines and connect the wires accurately with proper coding, you will achieve excellent results.
We expect you will successfully build your Arduino project by following our LCD screen Arduino wiring session. Stay connected to learn more.
